I’m going to show you that latte art is more than just a superficial flourish on your morning cup of coffee. It’s a craft that blends aesthetics with precision, enhancing not only the appearance but also the taste of your latte.
This isn’t just about making coffee look good; it’s also about creating an entire experience. The creamy patterns atop your espresso can turn a routine coffee break into a small celebration of skill and beauty.
You’re going to find out about the roots of this delightful barista art form as we trace its history from Italian espresso bars to coffee shops around the world. It started as a way for baristas to express their creativity and now, it’s a sign of coffee craftsmanship that enthusiasts and professionals alike strive to perfect.
Don’t worry too much about whether you’re an artist or not. By understanding the basics, anyone can start creating simple yet impressive designs. And remember, your first attempt doesn’t need to be your last; latte art is a journey of continual learning and improvement.
In my opinion, practicing latte art is as satisfying as it is challenging. As you progress, the liquid canvas of your espresso will become a platform for personal expression and a testament to your evolving skills.
Now that you’re familiar with the allure of latte art, let’s prepare to dive into the essentials of foam, flow, and finesse. These foundational elements are vital to mastering the craft and will set you up for the more intricate designs we’ll explore later on.
Mastering the Essentials: Foam, Flow, and Finesse
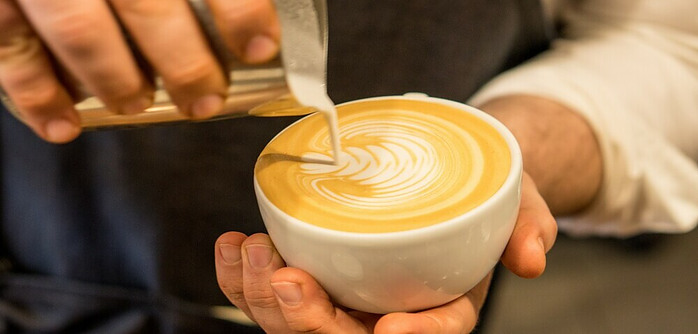
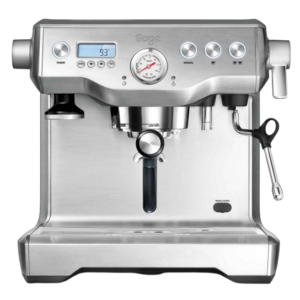
I’m going to walk you through the nitty-gritty of creating that velvety microfoam. Essential for good latte art is properly steamed milk; it’s the difference between a flat, lifeless surface and a creamy canvas ready for your masterpiece. You’re looking for milk steamed to a glossy finish with tiny, uniform bubbles called microfoam. To achieve this, submerge the steam wand just below the milk’s surface to create a vortex, then listen for that sweet, paper-tearing sound indicating you’re on the right track.
If you want to pour the perfect base for your designs, you’ve got to get the flow right. It’s about the speed and position of your pour. Start with a high pour to mix the espresso and milk, then bring the jug closer to the cup as the crema lightens. When you see that silky sheen on top, you’re ready for the fun part.
Your espresso serves as the canvas for latte art, and its quality can’t be overlooked. Before you even think about pouring, make sure your shot is well-extracted, boasting a rich crema. Now, I’m going to share a tip: Don’t let that shot sit for too long. Freshness is a friend of latte art.
Once you’ve got your base ready, it’s all about the technique. Your hand movement is crucial. A steady hand and an even pour are your allies here. You’re going to find out that creating designs is about balancing the tilt of the cup and the movement of your pouring hand. Remember, it’s not just about speed; precision is your guiding star. Don’t worry too much if it doesn’t come out perfect the first few tries. It takes practice, and that’s okay.
In my experience, it’s the little mistakes that can throw off your design. Are you wiggling too much or too little? Is your foam consistency off? Each small adjustment can lead to significant improvement. Learn from every cup you pour and adjust your approach accordingly.
From Basics to Baroque: Learning Classic and Complex Designs
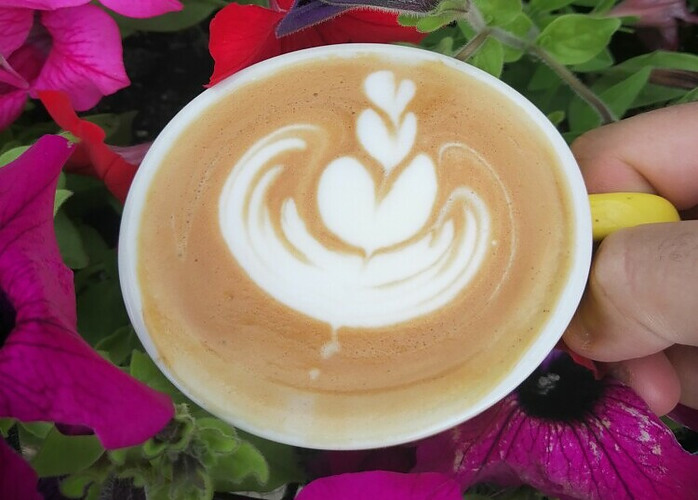
Once you’ve nailed down the fundamentals of milk steaming and pouring, you’re ready to step up your game. Here, I’m going to show you how to move from simple hearts to more intricate creations like tulips and swans. First up, let’s break down the heart and rosetta patterns. These timeless designs are the bread and butter of latte art, and mastering them will add to your confidence and skill set. You’re going to find out about how to layer your pour and wiggle the pitcher just right to make these designs pop.
But why stop there? There’s a lot of opportunity in the realm of latte art to express yourself. Advanced designs, such as the tulip and swan, are not just about showing off—they’re about making each cup a personal experience for whoever gets to enjoy it. I’ll share techniques for achieving symmetry and complexity without sacrificing the simplicity of your pour.
Choose something that resonates with you, and don’t be discouraged if your first attempts aren’t perfect. Latte art requires practice, and your first attempt doesn’t need to be your last. You can always adjust your approach down the road, and every mistake is a step towards mastery.
For those who catch the latte art bug and want to delve deeper, there are plenty of resources out there. In my opinion, workshops and online tutorials can be incredibly beneficial. There’s also a vibrant community of baristas and enthusiasts just waiting to welcome you. Engage with them, participate in forums, and maybe even compete in latte art competitions. That’s the strategy I like to leverage to keep improving.
Wrapping up this journey into latte art, remember that each cup is an opportunity to create something beautiful. I really hope that you take the tips and tricks from this article and use them to bring joy to yourself and others. Keep practicing, stay curious, and enjoy the delicious results of your efforts.
Which coffee beans are best for latte art?
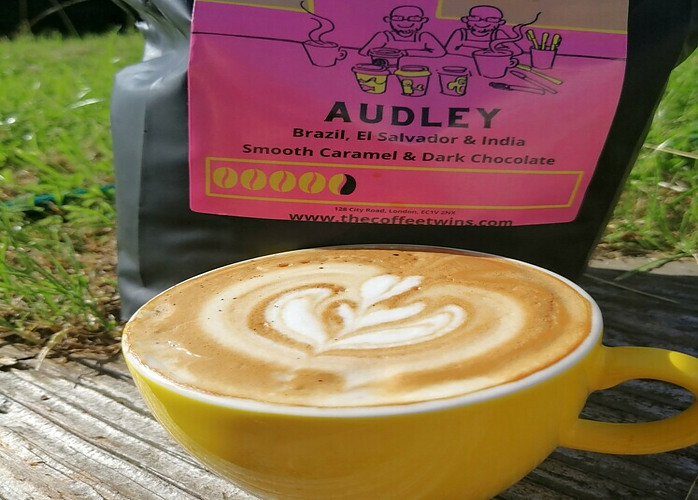
Let’s talk about something super crucial – the art of coffee roasting and how different origins bring unique flavors to your cup. Picture this: Ethiopian coffee, dancing on the fruity and winey side, while medium roasted blends sway towards that comforting chocolatey goodness.
Now, for those who love a milky coffee bliss, here’s a pro-tip – go for The Ultimate Bean to Cup Experience pack Bundle. Trust me, these three coffees are like a symphony of deliciousness, especially when they meet the creamy goodness of milk. So, why settle for ordinary when you can have an extraordinary coffee experience? Cheers to discovering your perfect cup!





0 Comments